Easy origami: where to start
What paper to use, the basic folds and the easiest origami models to start with, with drawings of the steps. For beginners and for kids.
You need no talent and no special materials to start origami: a sheet of paper, a table and models with few steps. This guide puts the Foldstep models in order, from easiest up, so each one gets you ready for the next.
The free models have their own page with all the steps written out and a drawing of each fold; the paid ones show the card and the first fold, and continue in the app. One step is one fold: you make it, check the result and move on.
Before you start: paper and a table
Almost every model starts with a square sheet. 15 cm (6 in) origami paper is handy because it is thin and coloured on one side, but any plain paper you can cut into a square will do. For your first tries, a bigger sheet (20 cm, 8 in) is easier to handle.
The plane, the hat and the boat use a rectangular sheet, such as A4 or US letter printer paper.
Fold on a flat table, not in the air: the corners meet and the creases stay straight.
First, the basic folds
Five short exercises, two to four minutes each, teach what every model uses: folding along the diagonal, finding the exact half, bringing a corner to the centre and making the kite base.
If you have never folded before, start here. If the lines in the drawings are hard to read, see the guide to mountain and valley folds.
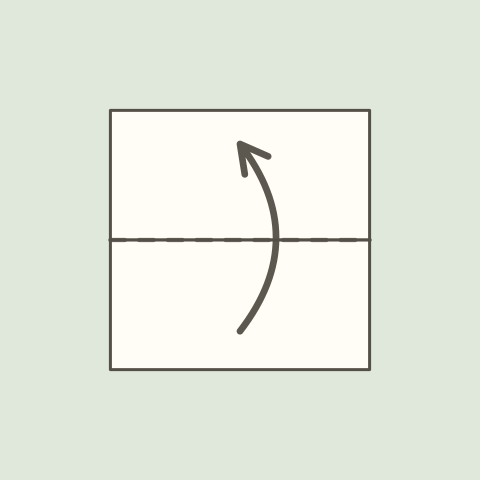
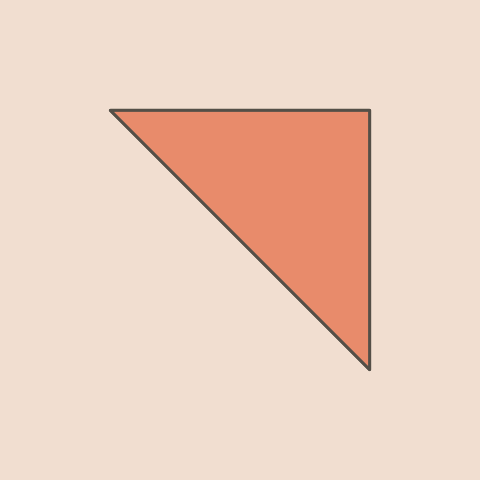 The first fold
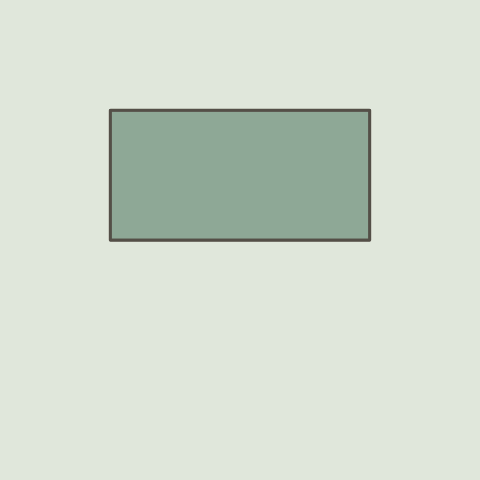 The exact half
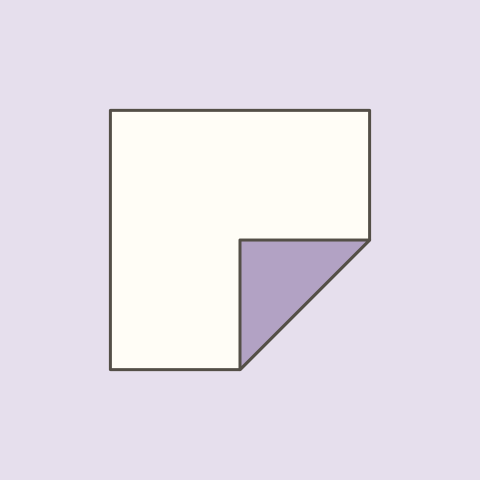 A corner to the centre
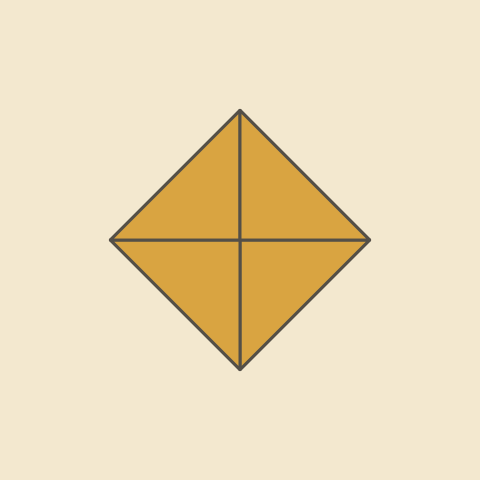 All four corners to the centre
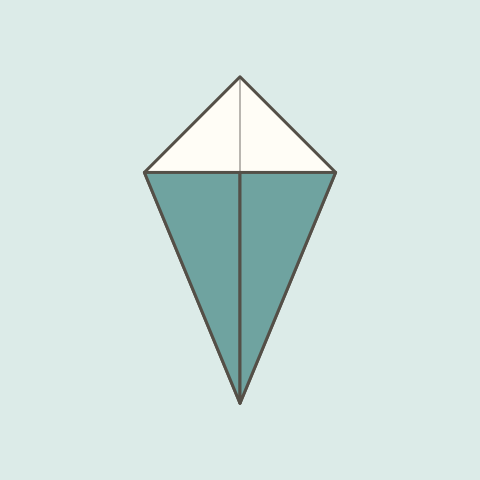 The kite base
Your first models
The cup has eight steps and really opens at the end. The hat is made from a rectangular sheet and you can wear it. The paper plane is the classic dart: twelve steps, and it flies.
All three are free on Foldstep, on the web and in the apps.
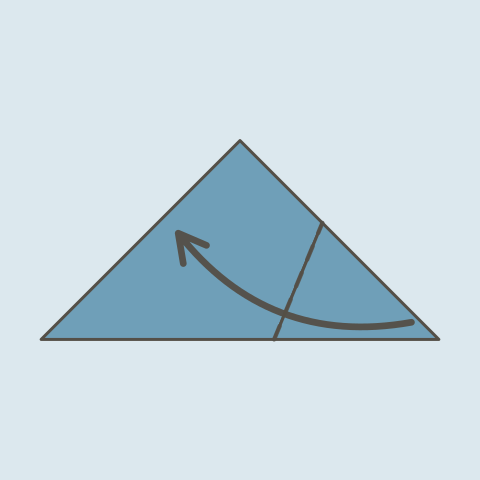
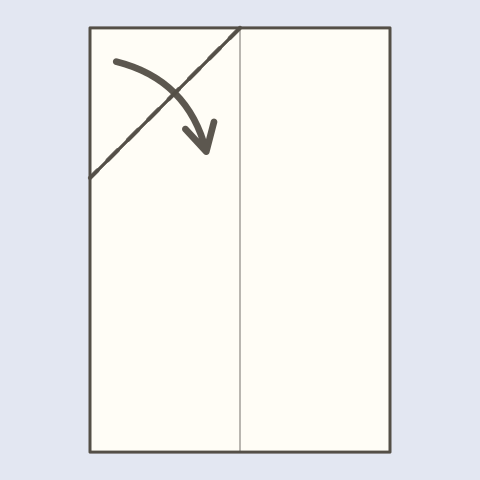
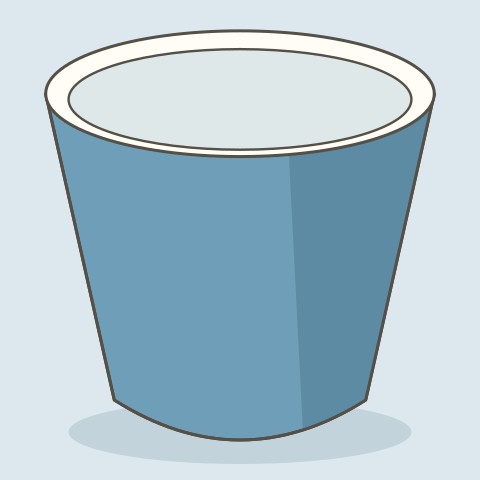 Cup
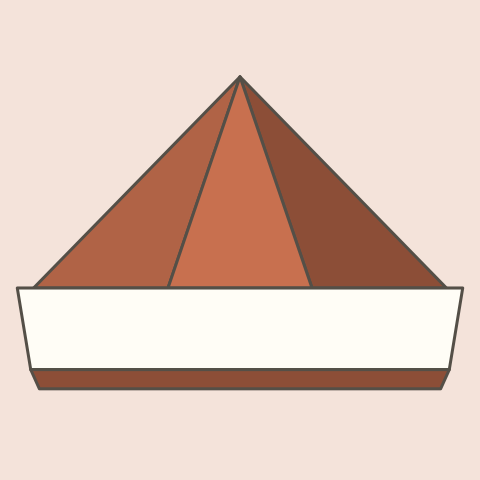 Paper hat
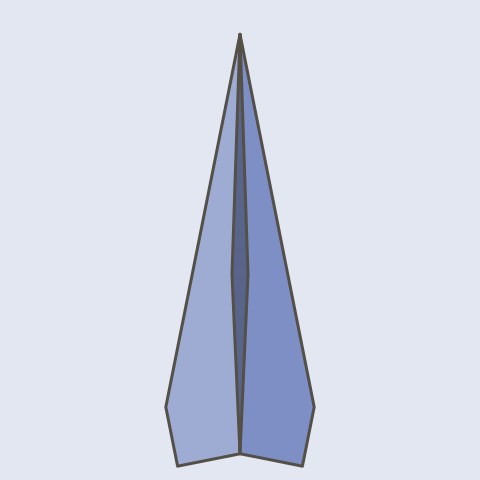 Paper plane
Easy origami for kids
The hat and the boat start the same way: once you have made one, you know half of the other. The fortune teller (salt cellar) is a game in itself, and the whale takes only a few folds.
With younger children, it helps if an adult makes the longest creases and the paper is a little bigger. If a step is hard, repeat it as many times as you need: the paper can take it.
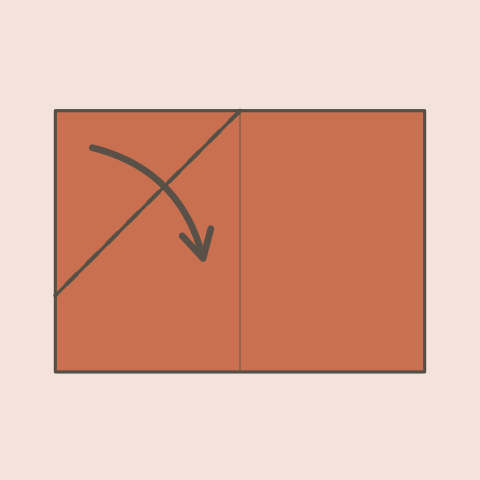
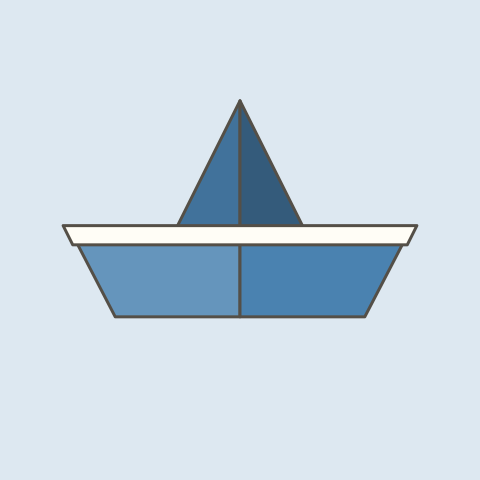 Paper boat
 Salt cellar
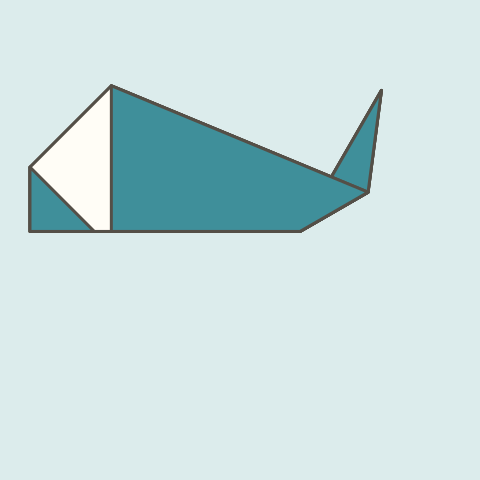 Simple whale
The next step
Once the first models come out without looking, try the cicada and the samurai helmet. Then come the bases, such as the preliminary base, the start of many models. The crane is longer and comes more easily after the preliminary base.
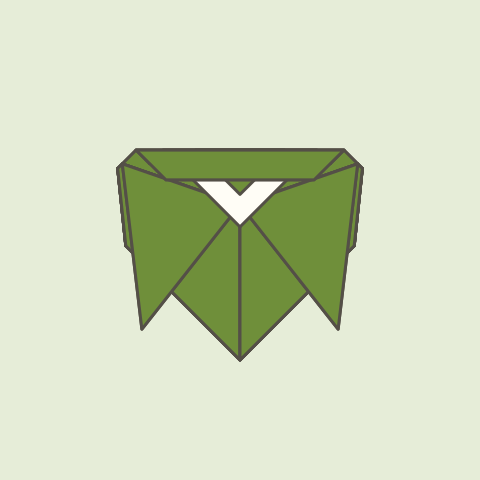 Cicada
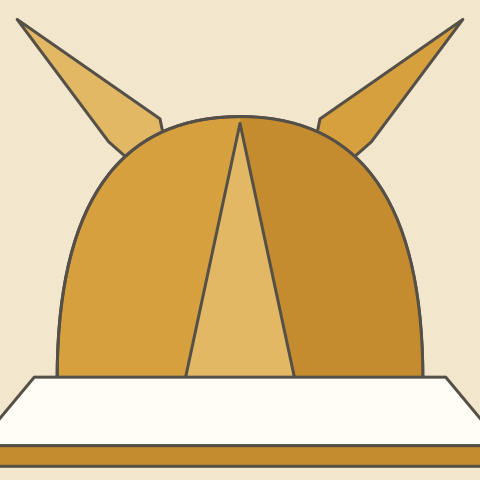 Samurai helmet
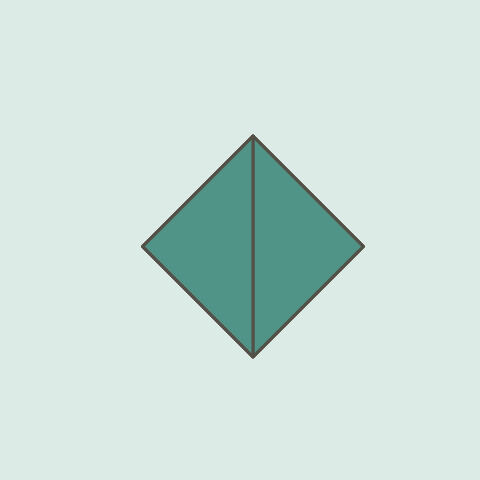 Preliminary base
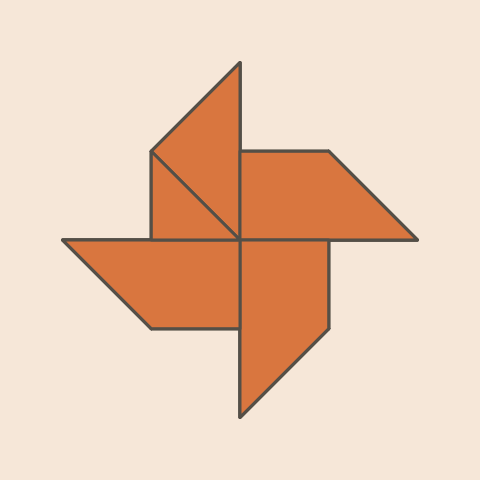 Windmill
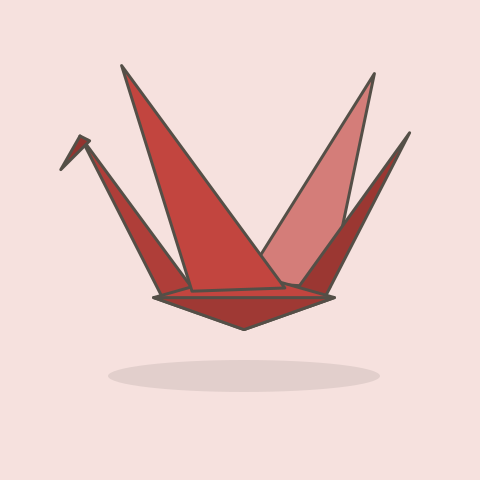 Crane
Tips that help
Before you crease, line up the corners and edges exactly. Then press the fold flat with your fingernail, from the middle outwards.
Read the whole step before folding. Look at the drawing: the line shows where to fold and the arrow shows which way.
If the model comes out crooked, start again with a new sheet. The second one is almost always better.
Open any model and fold it step by step, one fold at a time.