Mountain and valley folds
What a valley fold and a mountain fold are, how origami diagrams draw them and how to practise them with easy models, step by step.
Nearly all origami is made with two folds: the valley fold and the mountain fold. Once you can tell them apart in a drawing, you can follow almost any diagram.
This guide shows how they look in Foldstep, with drawings from real steps, and which models are good for practising them.
Valley fold: fold towards you
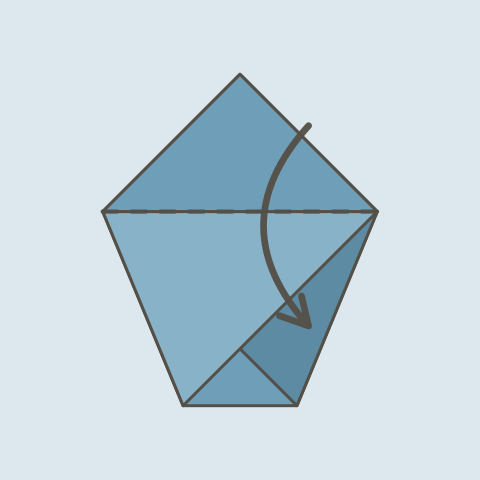
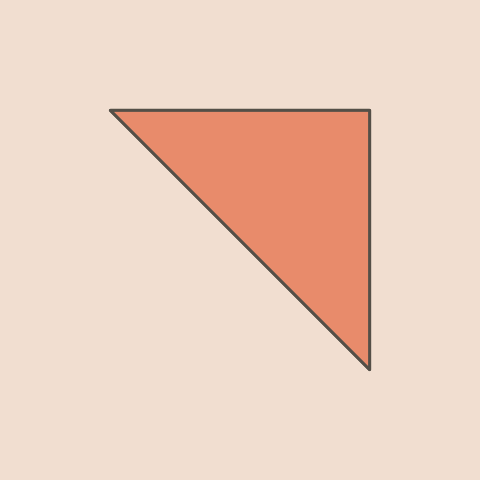
In a valley fold, the part that moves comes towards you and ends up on top. Open it slightly and look from the side: the paper makes a V, like a valley.
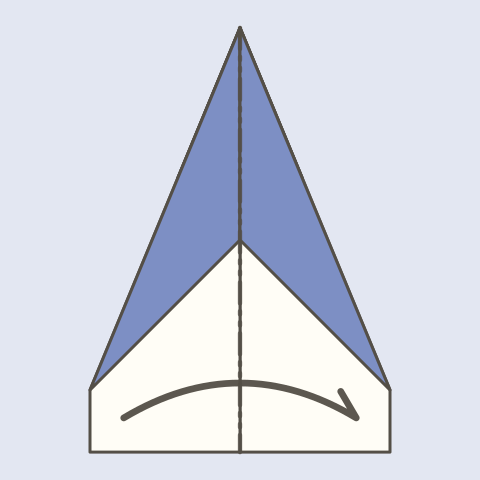
It is drawn as a dashed line. Its arrow has a full head. It is the most common fold: the first exercises use valley folds only.
 The first fold
 The exact half
Mountain fold: fold away from you
In a mountain fold, the part that moves goes away from you, behind, and ends up underneath. Seen from the side, the paper makes a ridge, like a mountain.
In Foldstep it is drawn as a line of one dash and two dots. Its arrow has half a head. In the cup, step 6 is a mountain fold: the back point folds backwards.
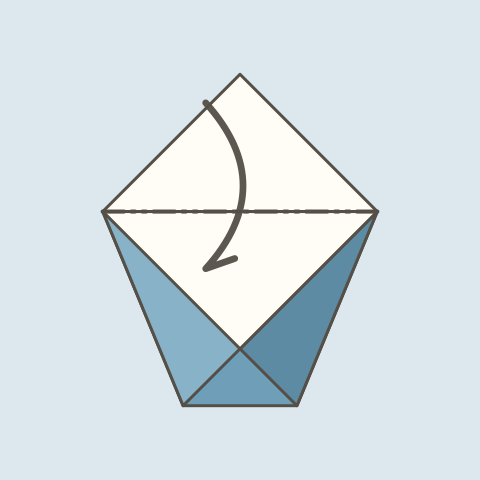
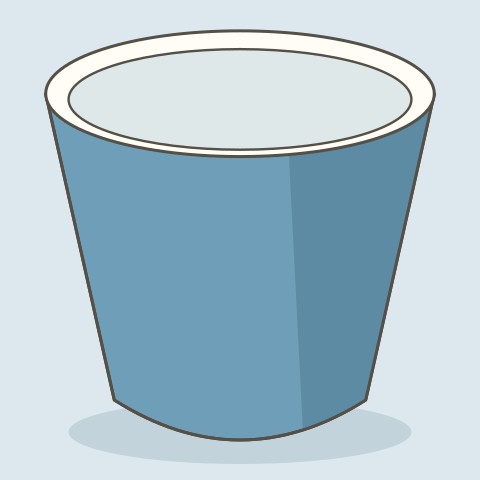 Cup
The same fold, seen from each side
A mountain fold is a valley fold made from the other side of the sheet. If folding backwards is awkward, turn the paper over, make a valley fold and turn it back.
The hat shows it well: the front strip goes up with a valley fold and the back strip goes down along the same line with a mountain fold.
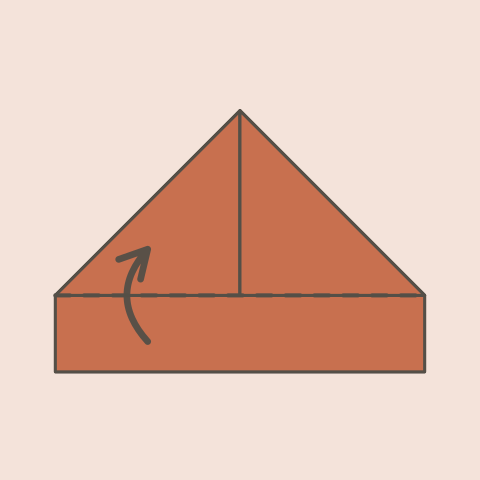
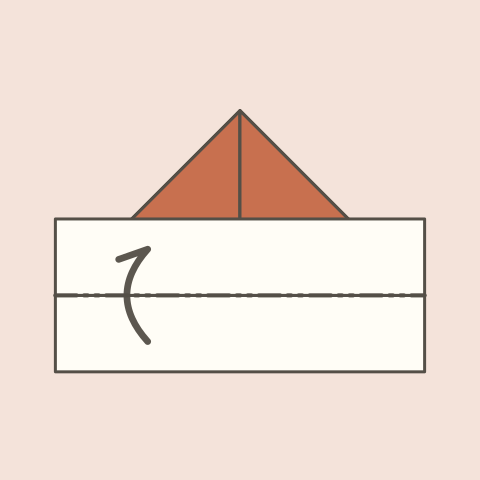
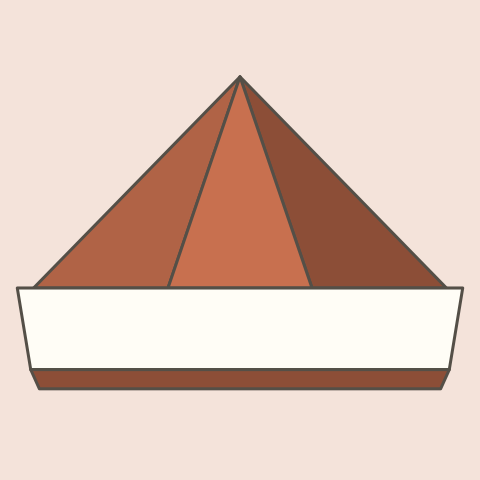 Paper hat
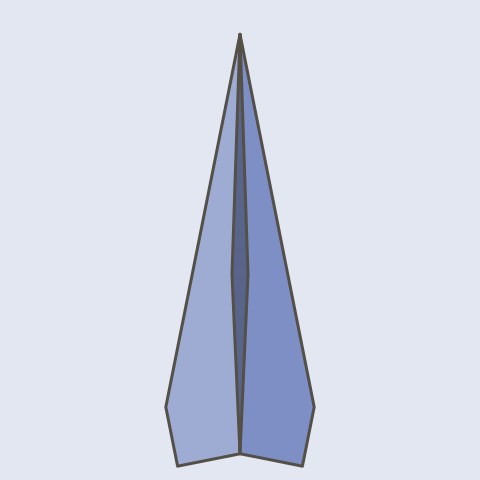 Paper plane
Crease and unfold
Often a fold is made only to leave a crease: you fold, press it well and open it again. That crease guides the next folds, like the centre line of the kite base or the paper plane.
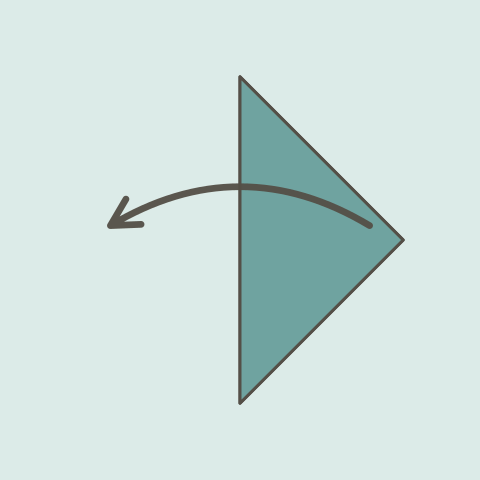
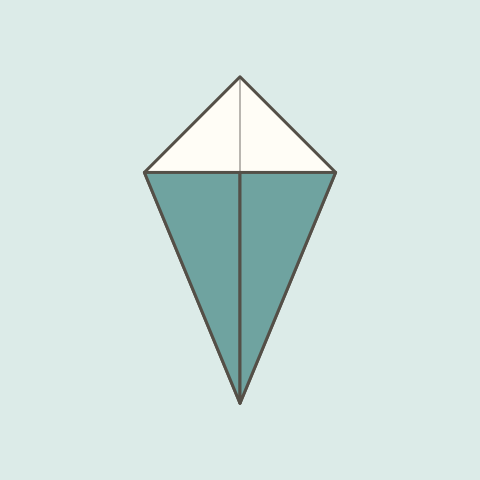 The kite base
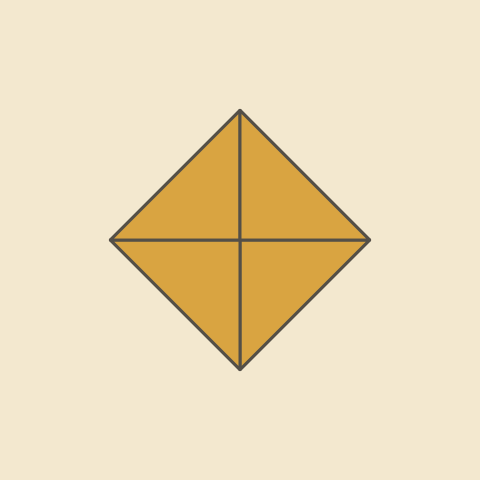 All four corners to the centre
The arrows
The arrow shows which part moves and where it lands. With a full head, the fold is a valley fold and the part stays in front; with half a head, it is a mountain fold and the part goes behind.
Under each drawing, Foldstep shows a legend of the lines that model uses.
To practise
The paper plane, the cup and the hat mix valley and mountain folds in a few steps, and all three are free. To start from scratch, see the easy origami guide.
Open any model and fold it step by step, one fold at a time.